We recently had the privilege of visiting the Oak Spring Garden Foundation during their June Open Day Garden Tours—a rare opportunity to explore the legacy of Rachel “Bunny” Mellon, one of the most influential horticulturalists and garden designers of the 20th century. Her gardens, ideas, and philanthropic vision continue to inspire through the work of this remarkable foundation.
🌿 Who Was Bunny Mellon?
Rachel Lambert “Bunny” Mellon (1910–2014) was a self-taught gardener and landscape designer best known for:
Designing the White House Rose Garden at the request of Jacqueline Kennedy
Restoring the historic Potager du Roi at Versailles
Amassing a world-class collection of rare horticultural books and botanical artwork, now housed at Oak Spring
Her garden design philosophy—simplicity, elegance, and harmony with nature—still resonates deeply with gardeners and designers today.
🏡 About the Oak Spring Garden Foundation
The Oak Spring Garden Foundation (OSGF), located in Upperville, Virginia, was established to preserve Bunny Mellon’s estate, library, and gardens. But it is far more than a historic site—it’s a vibrant center for education, conservation, and creative exploration.
The Foundation’s mission is to inspire fresh thinking and bold action at the intersection of plants, people, and the planet.
Learn more: osgf.org
🌱 Bunny Mellon's Legacy in Action
1. Horticulture & Garden Design
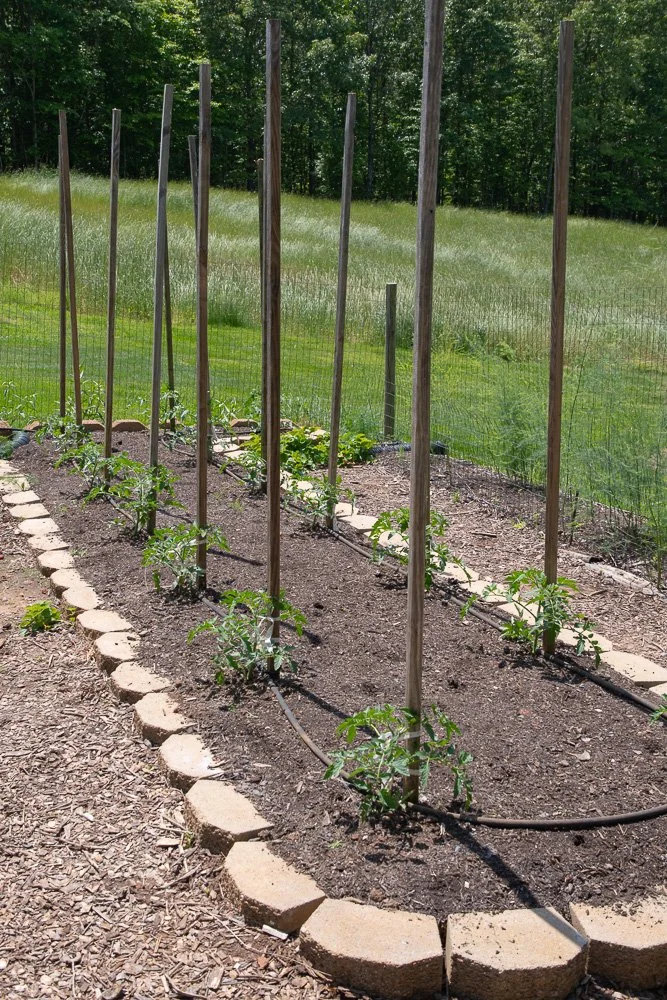
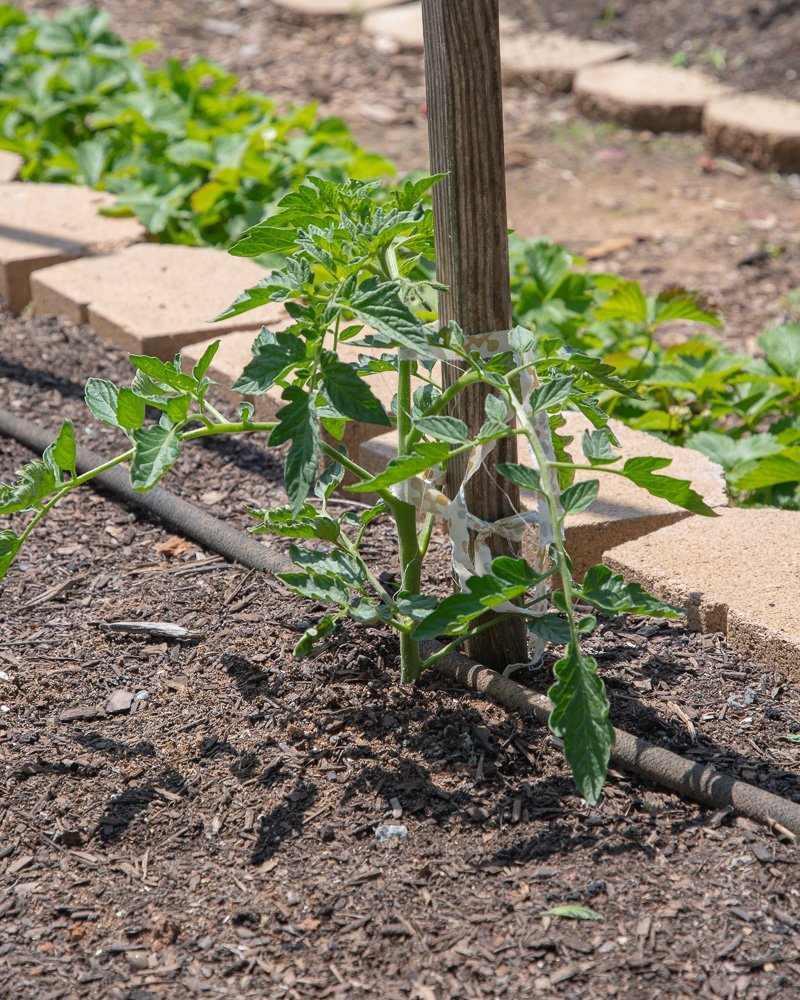
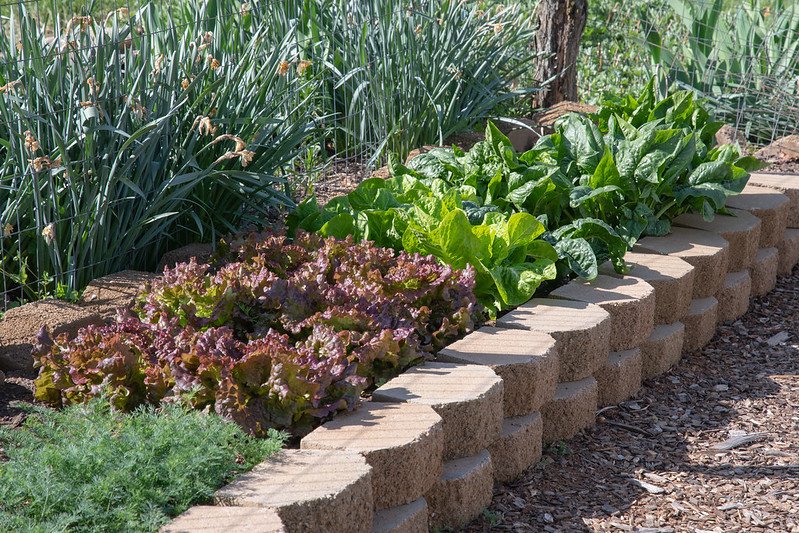
Mellon’s original gardens are lovingly maintained using sustainable practices. You’ll find espaliered fruit trees, boxwoods, native meadows, and the iconic crabapple tunnel—all carefully stewarded with an eye toward beauty and biodiversity.
2. Library & Collections
The Oak Spring Garden Library holds over 19,000 items, including rare botanical books, manuscripts, prints, and art. It’s a resource for historians, scientists, artists, and anyone passionate about plants.
3. Educational Programs
Youth programs like the BEE A Naturalist camp engage children in hands-on environmental learning.
School and community outreach brings garden and science education to local students, libraries, and public spaces.
Explore youth education: osgf.org/youth-education
4. Residencies & Fellowships
OSGF offers prestigious fellowships and residencies for artists, researchers, scientists, and horticulturists. Participants live and work on the property, drawing inspiration from its gardens, library, and wild landscapes.
Learn about residencies: osgf.org/residencies
5. Conservation & Biodiversity
Spanning over 700 acres, the Foundation’s land is managed to protect and enhance biodiversity. From native meadow restoration to habitat monitoring, OSGF leads by example in regenerative land stewardship.
More on conservation: osgf.org/conservation-biodiversity
📅 Events and Ways to Visit
Oak Spring opens its gates for seasonal events that allow the public to experience this hidden gem firsthand:
Garden & gallery tours (by registration)
Creative workshops and lectures
Family-friendly festivals like the Rokeby Community Festival
View upcoming events: osgf.org/programs-and-events-calendar
🌸 Why It Matters
Oak Spring is a living example of how gardening can be more than aesthetic—it can be educational, restorative, and ecologically powerful. Bunny Mellon’s legacy is rooted not just in beautiful design, but in thoughtful stewardship of both land and knowledge.
Whether you're growing your first pollinator patch, designing a formal garden, or looking for ways to garden more sustainably, there's something to be learned from her vision.
💬 Let’s Keep Growing
Inspired by Bunny Mellon and the Oak Spring Garden Foundation? Visit their website to learn more, plan a visit, or get involved.
And as always—keep planting with purpose and joy.