Tomatoes in Central Virginia, Part 2: Planting tips

by Mark Levisay

Now that you have a better idea of what varieties of tomatoes you want to plant, let’s talk about how to plant them to maximize their growth throughout the summer. 

Spacing to minimize disease

Proper spacing of the individual plants is important in minimizing the spread of disease later in the summer. Rows should be at least 3’ apart, with the plants in the rows 2-3’ apart. The idea is to get as much sunlight to the plants and promote air movement to minimize fungal diseases. I use soaker hoses throughout my tomato beds, and it helps to have them laid out in addition to your support stakes or poles before you do any planting.


Tomatoes planted and tied to support poles.

Tomatoes planted and tied to support poles.

Establish strong roots

If you look closely at your tomato plants you’ll notice lots of little “hairs” on the main stem.  These will become roots if they come in contact with the soil, so your goal is to plant your seedlings as deeply as possible for maximum root development.  You’ll also notice two small oval leaves, which you want to pinch off. 

Bury your seedlings to within about 2” of the first set of leaves. Plant them as close as you can to your support stakes or poles and the soaker hose if you’re using it.  Never bury any leaves under the soil as they will rot and cause trouble later.  Mulch thoroughly all around the plants to conserve moisture and prevent soil splash onto the leaves.  (Important note: The soil splash is one of the ways that fungal spores in the soil can come into contact with the tomato plant.) 

Keeping good constant moisture in the soil, without being soggy, is a good way to prevent blossom end rot on the fruit. I use hardwood bark mulch in my tomato bed, but straw works well and you can use newspaper between the plants as well. Water thoroughly after mulching.

Feed plants through the summer

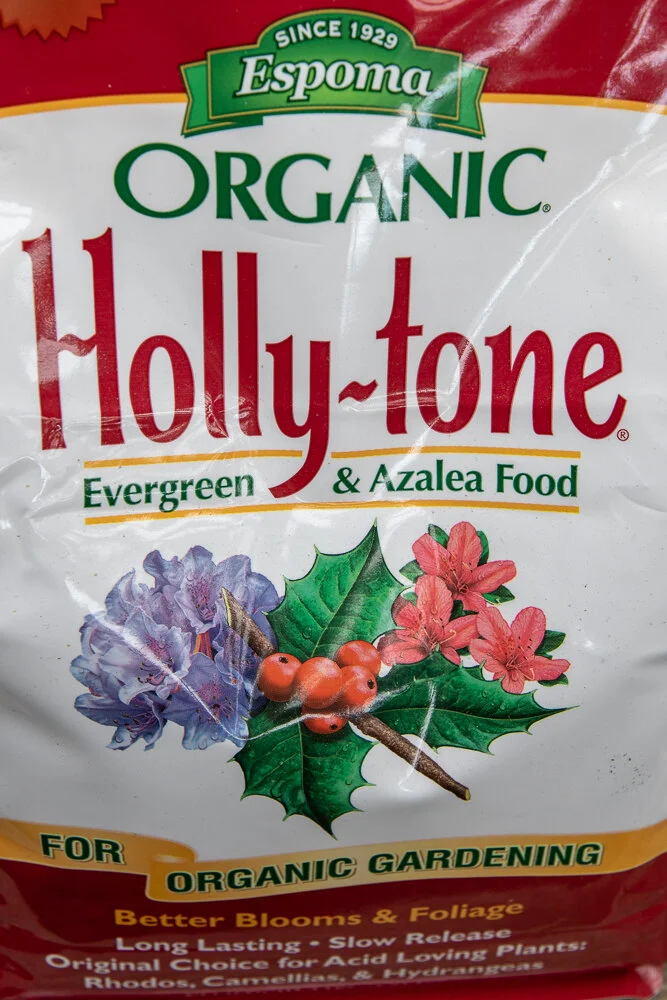
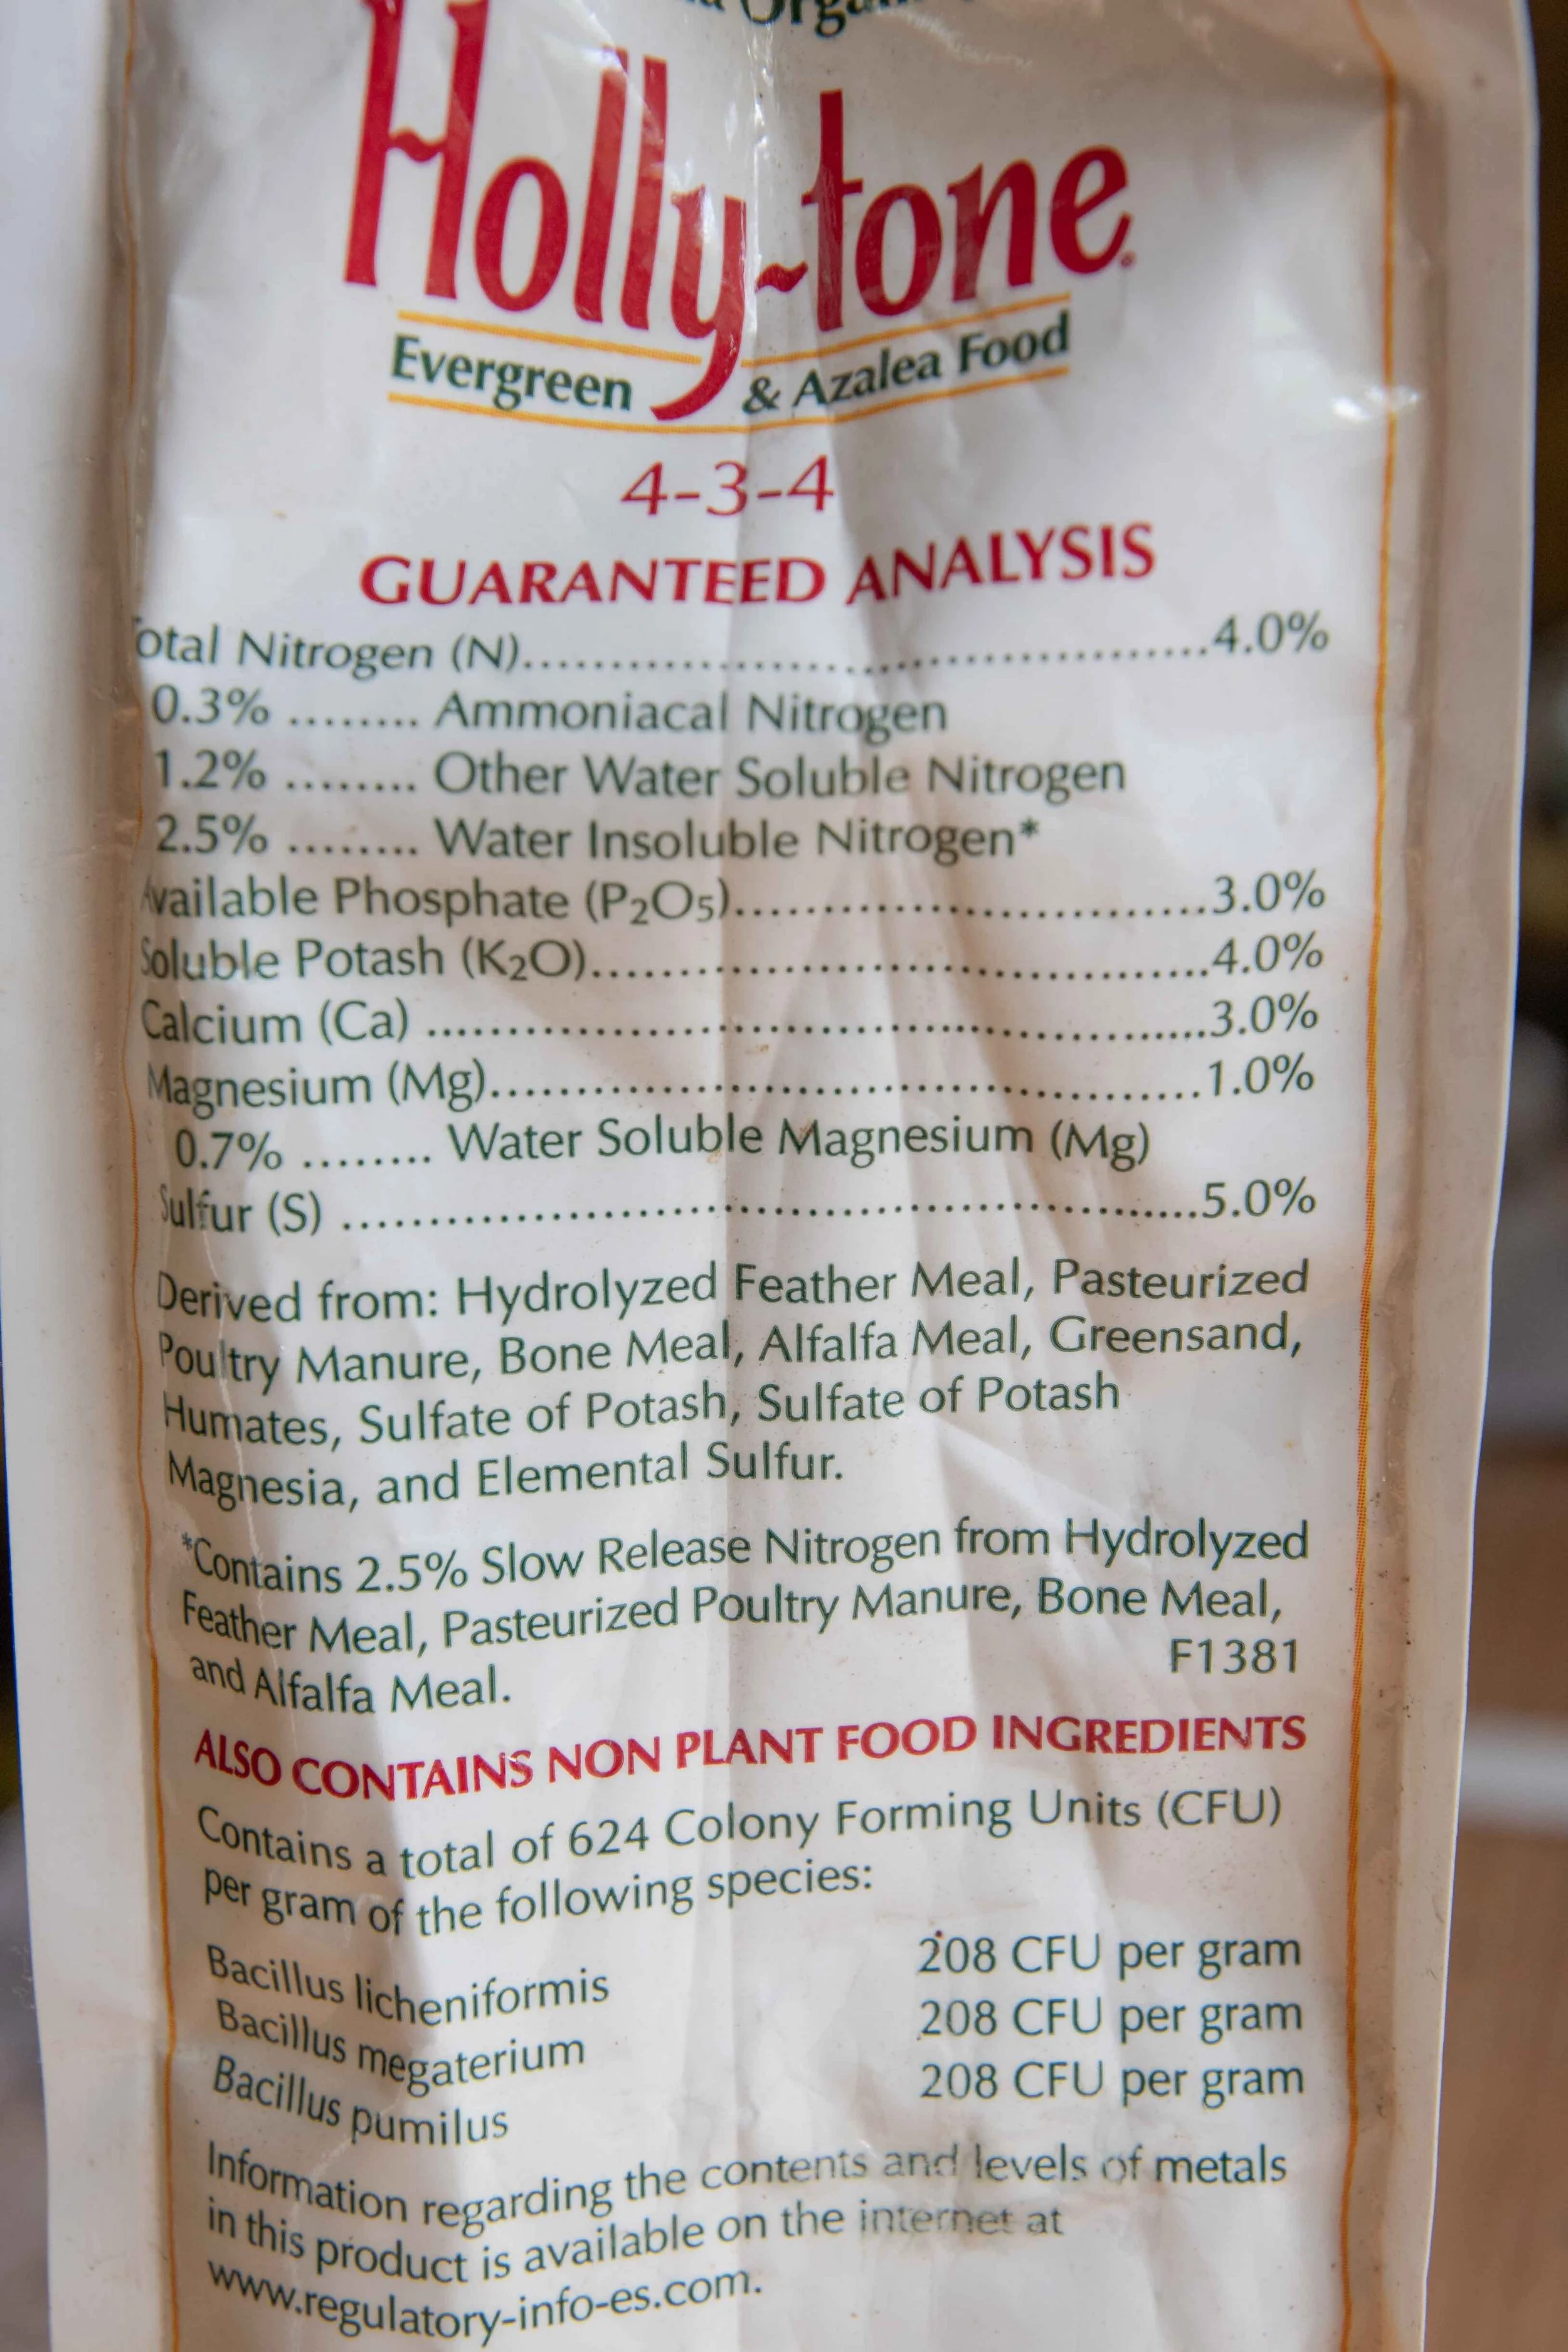
Tomatoes are classified as heavy feeders so it’s important to give them fertilizer of some sort all during the summer. Before I plant, I mix a cup or so of Espoma’s Plant Tone organic fertilizer in the soil where each seedling will go. Mix this in the soil when you dig your hole, and then firm the soil around the plant. You can use a high nitrogen (N) fertilizer at the beginning as you’re trying to promote rapid growth of the new plants.

Once the plants have begun to set lots of green fruit it will be time to add more fertilizer. Use a high nitrogen fertilizer for this application. Two weeks after your first ripe tomatoes, fertilize again, but this time use a fertilizer with a higher phosphorous (P) content, as this helps promote the fruit production. Continue this monthly schedule until fall.

Support plants

I start tying up my tomatoes as soon as they’re tall enough to get the ties around—sometimes even when I plant them.  Tomatoes want to grow UP and I think they do better if you help them climb the poles. Tying up also helps prevent damage from storms and high winds. In addition, we want the plant leaves as far from the soil as possible for disease prevention and the ties will help with upward growth.

To make the ties, I use old sheets or pillowcases torn into ½-3/4” strips about 10-12” long and tie them up after every 6-9” of growth.  I’ve also learned to put a wood or drywall screw into my poles ½ to 2/3 of the way up from the ground on the opposite side from the plants.  Later in the summer when your plants are loaded with fruit they’ll want to sag down and the screws give the ties something to latch on to.

Next time we’ll talk about training, pruning and other cultural practices in the tomato bed.

Have a garden question? Send me an email at marklevisay@gmail.com.

Spring Fertilizer Guide: Organic Holly Tone for acid-loving plants

by Mark Levisay

I’m going to take a break from talking about plants and shift focus to fertilizers and soil additives.  The Corner Store Garden Center carries an extensive line of Espoma products that you don’t know about since you can’t come inside the greenhouse and see them all lined up!  That’s a shame, because many of these products could prove useful to you during the garden season.  I took my camera (and mask) up to the greenhouse one afternoon and photographed each product’s bag, front and back, so you could see what you’re missing.  I’ll try to explain what’s in each product and what it can do for your garden.

Fertilizer for acid-loving plants

Holly Tone is an organic, balanced fertilizer with an N-P-K analysis of 4-3-4. It also contains 3% calcium (Ca), 1% magnesium (Mg) and 5% sulfur (S).  The sulfur component is the key here, as this product will act to raise the acidity of the soil where it’s used. 

Espoma’s organic Holly-Tone fertilizer for acid-loving plants.

Espoma’s organic Holly-Tone fertilizer for acid-loving plants.

Espoma’s “Bio-Tone” provides beneficial bacteria

You’ll also notice as you look at the side panel of the bag that it contains 3 types of bacteria.  Healthy soil contains a mix of both bacteria and fungus, and these organisms are critical in breaking down chemical compounds into forms the plant can absorb.  Adding these beneficial bacteria to your soil will improve the overall “biome” and help plants thrive.  All of Espoma’s xxx-Tone fertilizers will have this “Bio-Tone” component.   A side effect of this is that each package will have a “use by” date, as these bacteria colonies will slowly decline over time.

Another thing you’ll notice on the package is the source of the water-insoluble nitrogen (N).  This in-soluble nitrogen needs to be broken down by organisms in the soil to be available to the plant, so it’s considered slow release.  Feather meal, bone meal and poultry manure are all by-products of chicken  and egg production, and alfalfa meal is derived from a common farm crop.  It’s great that these by-products can be used as fertilizer and they also help improve the tilth of heavy soils.  An unfortunate side-effect is that our dogs think this stuff is candy and we can only use it in areas where the dogs are fenced out!

Ingredients panel for Espoma’s Holly-Tone organic fertilizer.

Ingredients panel for Espoma’s Holly-Tone organic fertilizer.

Plants and application

There are a number of plants that benefit from growing in acidic soil conditions.  Evergreen trees and shrubs, azaleas, rhododendrons and mountain laurels, and blueberries and other bramble berries come to mind.  For a more complete list go to espoma.com for additional information.  They have good lists of plants that benefit and application instructions. 

Espoma recommends a spring application and a smaller fall application for shrubs and two separate spring applications for berries.  To be sure for individual plant varieties I’d refer to Virginia Cooperative Extension’s website (ext.vt.edu) as they have loads of information on the nutritional requirements for most garden plants.

Next time we’ll talk about Plant Tone, which is an organic fertilizer I have used a lot in my vegetable garden with great results.

Have a garden question? Send me an email at marklevisay@gmail.com.

Tomatoes in Central Virginia, Part 3: Growing tips

by Mark Levisay

Now that you’ve got your tomato plants in the ground, how do you care for them to ensure maximum fruit production?  I have found there are several things you can do throughout the growing season to help your plants thrive.

Tomato plants tied to support poles as they grow.

Tomato plants tied to support poles as they grow.

Provide great support

The first thing is to give the plants good support to keep them off the ground and growing vertically.  I use 8’ 2x2” poles to support my plants, though cages can work as well.  Using strips of old sheets or pillowcases I tie the growing leaders to the poles at least every week.  An interval of 4-8” is probably good-more supports will help hold up heavy sets of fruit.  I usually tie just under a node, which is where a leaf comes off the plant’s stem.  Don’t tie them too tight, as the stems will get bigger over the summer and you don’t want to prevent the flow of nutrients up the stems to the leaves and fruit.

Continue tying all summer long, at least until the plant gets to the top of the poles!  The goal here is to keep the plants away from soil splash during heavy rains, as that can infect the plant with fungal spores present in the soil.  The ties and supports also prevent damage from summer storms.

Prune regularly

Secondly we want to prune the plant and train it to grow with two or three main “leaders,” which get tied up to the support.  Tomatoes want to produce many growing shoots and will produce “suckers” at almost every node.  These shoots will produce flowers and fruit if allowed to grow, but the root system will have trouble supporting all of these stems and the plant will be very thick with foliage. 

We also want to encourage air movement within the tomato patch and help more sunlight reach the fruit so it can ripen.  When the plant is 12-18” tall you will notice one or two of the suckers will be really big and robust.  I let one or two grow in addition to the main leader and remove all other suckers that emerge.

A good rule of thumb is to pinch off any suckers on the plant each time you tie the new growth up or roughly once a week.  You’ll even notice suckers that appear where you’ve already pinched one off but remove it again if it appears.  This pruning actually stimulates the plant’s vertical growth which will aid with air movement and sun exposure.

Fertilize strategically

Fertilizing your plants is really important as tomatoes are classed as heavy feeders.  I use Plant Tone organic fertilizer when I plant the seedlings.  Once the first fruit has set, about 2 weeks before your first ripe fruit is expected, fertilize each plant with a fertilizer relatively high in nitrogen (N).  After that, at one month intervals, feed the plant a fertilizer that is higher in Phosphorus (P) as that will help support the flowering and fruit production.  Remember, if you are growing indeterminate plants they will continue to grow, flower and produce fruit until killed by frost or disease.

Keep it clean

To prevent the spread of disease it’s also important to practice good hygiene in your tomato patch.  I generally consider any yellow or brown leaves I see to be diseased and remove them as soon as I can.  Not only remove them from the plant, but from the garden as well.  I don’t even put them in my compost pile, as the fungal spores can survive for up to 5 years in compost or soil, unless your compost pile is really achieving the high temperature needed to kill them (131F for 3 days). 

When in doubt, throw them out!  Your plants will start to look bare at the bottom, but that won’t affect the fruit production if they’re actively growing at the top.  At the end of the season, when your tomato plants are dead, remove all of the old leaves and stems from the garden, and try to plan for having your tomatoes in a different area next year.  Most farmers practice crop rotation, and you should too.

Good luck!

Have a garden question? Send me an email at marklevisay@gmail.com.

What is pH, and why should I care?

by Mark Levisay

What is pH?

To answer this question we need to take the way back machine to high school chemistry class.  Acidity is the relative activity of the H+ ion in a given environment, and there is a scale to measure that activity.  The scale is from 0-14, where 0 is highly acidic, 7 is neutral, and 14 is highly basic or alkaline.  The scale is logarithmic, so a change from 7 to 6 is actually a 10 fold increase in the acidity.  In general, plants can grow in a pH range of 3.5 to 10, but most of the plants we’re interested in prefer a range from 6 to 7.  Exceptions to this rule would be plants from forests or bogs which have evolved in a more acidic environment.  Some acidic loving plant examples are azaleas, rhododendrons, laurels and blueberries.

Azaleas and rhododendrons are a few of the plants in our area that prefer acidic conditions.

Azaleas and rhododendrons are a few of the plants in our area that prefer acidic conditions.

The impact of pH on plant growth

The reason we should care about the pH of our soil is that it has a huge effect on fertility.  If the soil is too acidic, manganese (Mn) can concentrate in toxic (to plants) levels.  Calcium (Ca), magnesium (Mg) and phosphorus (P) can be tied up chemically and not available to the plant.  On the other hand, in alkaline conditions phosphorus (P), iron (Fe), copper (Cu), zinc (Zn), boron (Bo) and manganese (Mn) can become unavailable.  Some of these are major macronutrients, and plants can really suffer under the wrong conditions.

In central Virginia we rarely encounter alkaline conditions.  Most of our native soils are going to be at least slightly acidic due to the underlying geology and the fact that most of this area was forested at one time.  Adding mulch to your garden is an excellent idea but will lower the pH (making it more acidic) over time due to the organic processes of decomposition.  Even rain is slightly acidic which doesn’t help the situation. 

If you have trouble with your lawn grasses and/or have moss then your soil is probably more acidic than you’d like it to be.  To get an exact answer, you need to do a soil test, which will give you an exact pH number and a recommendation of how much lime you might need to bring the pH into balance.

How to fix acidic soil

Raising a pH that’s too low (acidic) is pretty straightforward.  Limestone is basically calcium carbonate (CaCo3).  Adding this to the acidic soil breaks down the molecule, releasing the Ca+ ions along with carbon dioxide and water.  Calcium is a nutrient needed by plants so limestone provides an added benefit.  You may have used pelletized dolomitic limestone on your lawn, and this inexpensive product is also excellent for your vegetable and flower beds.  Dolomite is a limestone that also contains magnesium (Mg), so you get a double benefit by adding both Ca and Mg to the soil.  This can be especially important with fruiting plants such as tomatoes which can develop blossom end rot.  This condition is caused by a calcium deficiency typically due to insufficient or infrequent watering.  Having extra calcium in the soil can help prevent this.

Wood ashes from your fireplace can also be used to correct low pH, but it’s a little trickier.  It takes twice as much ash to raise the pH than lime, but ashes also contain phosphorus, potassium and boron, so you shouldn’t use too much at any one time.  The best practice is to spread a thin layer of ashes on your garden beds in the fall and let it incorporate over the winter.  Never put ashes too close to seeds or seedlings, as it can damage the roots.  Vegetables that seem to like things less acidic than others, like beets and spinach, may benefit from an application of wood ash.  If you use ashes, it’s a good idea to do a soil test regularly to keep a close eye on the pH.

Keeping your pH at an “optimum” level of 6-7 will help ensure that your soil is able to deliver the nutrients your plants need.  Your vegetables, flowers and lawn will reward you for it!

Have a garden question? Send me an email at marklevisay@gmail.com.