by Mark Levisay
Today I’m going to go through a quick description of how we cut back our buddleias (butterfly bush) in late winter. February and early March are a good time to prune or cut back most perennials as the sap has not started to run yet. This also applies to fruit trees, and even grapes. If you wait until the weather is warmer, the plants may lose precious moisture at the places you make your cuts. I’m going to use buddleias as an example, since I did this yesterday (2/26) and took some photos while I was at it.

Buddleia bush before pruning.
Buddleias are slightly different than a lot of other perennials in that their upper branches have not been killed back by frost. They stay remarkably green all winter and will start growing from any of the existing green growth when the weather warms. You can just leave them, but we usually cut them way back, and then pinch back the new growth multiple times to make the plants bushy and to produce more flowers. With other perennials cut the dead growth down to just above any green shoots you see just above the soil.

Closer look at the dense green growth near the base of the plant.
This photo shows where we are going to focus our pruning efforts. There are a lot of green shoots around the base of the plant, and each will become a branch supporting multiple flowers (which the butterflies love!). Using sharp by-pass shears or loppers, cut each existing branch just above the node (the point on the branch where the shoots emerge) right above the top shoot you want to save. This is a chance to create a nice rounded form for later uniform plant shape.

This is what the plant looks like after pruning.
Each of the remaining shoots will now be ready to start their growth into new branches when the warmer weather arrives.
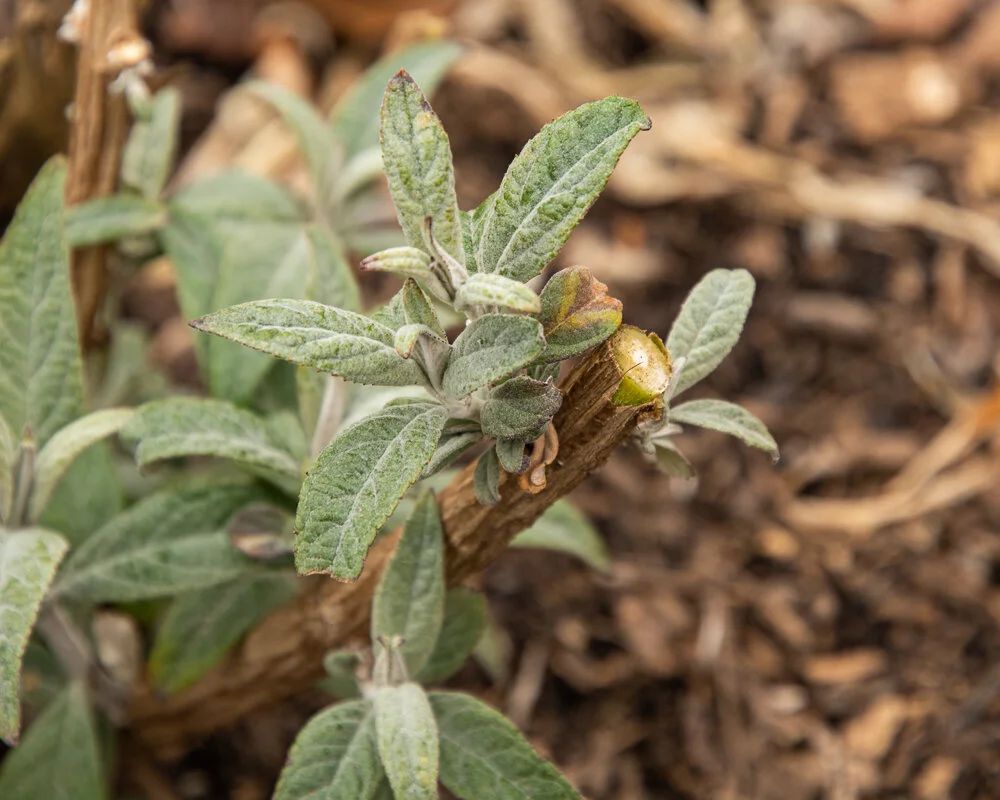
Closer look at one of the pruning cuts with the shoots that will become branches this year.
As the new growth begins, pinch back many of the new shoots. This not only makes the plant bushier, but it will produce more flowers and help you continue to shape the plant. I’ll go into this process in more detail later in the spring when I can take some photos while I pinch back the plants.
As a side note, we haven’t had any trouble at all with deer bothering the buddleias, even though they are one of the few plants with green leaves during the winter months. Add to that their value in attracting pollinators like butterflies to your garden and I think we have a real winner here!
Any questions please feel free to e-mail me at marklevisay@gmail.com Good luck!