Last fall I decided to re-build my seed starting light using brighter and more energy efficient LED lights. My original light consisted of two 2-bulb 48” fluorescent “shop light” fixtures hanging in a wooden frame with chains so the height of the lights could be adjusted. Each February, I set up a folding table and position the light frame on top to begin seed starting for the year.
This set up had always worked well, though the fluorescent bulbs seem to dim with time, and then pose a disposal hazard due to the mercury inside them. Using modern LED lights promised a reduction in energy use and a long life span. I ordered a set of four Freelicht brand 45W, 4500 Lumen, 5000K (daylight balanced) 2 bulb 48” LED light fixtures from Amazon.com which cost about $75. Once they arrived I immediately installed one fixture in my workshop to see how it worked. I was pleased to find the fixtures light in weight and obviously brighter than the fluorescent light they replaced.

My original light hanging frame, made from 1x2” lumber is 53” long and 36” high, plenty of room for the 48” light fixtures and space for 4 standard plant flats. The frame sits on top of a folding table I set up each February for the seed starting season.
Now, how to link together the three light fixtures? The lights each come with 2 short cables with an eye on one end and hook on the other, which made it easy to install the fixture to the rafters in my workshop. The lights also are built with a typical “keyhole” for mounting on a screw flush to a surface on each end, and I decided to try this route.
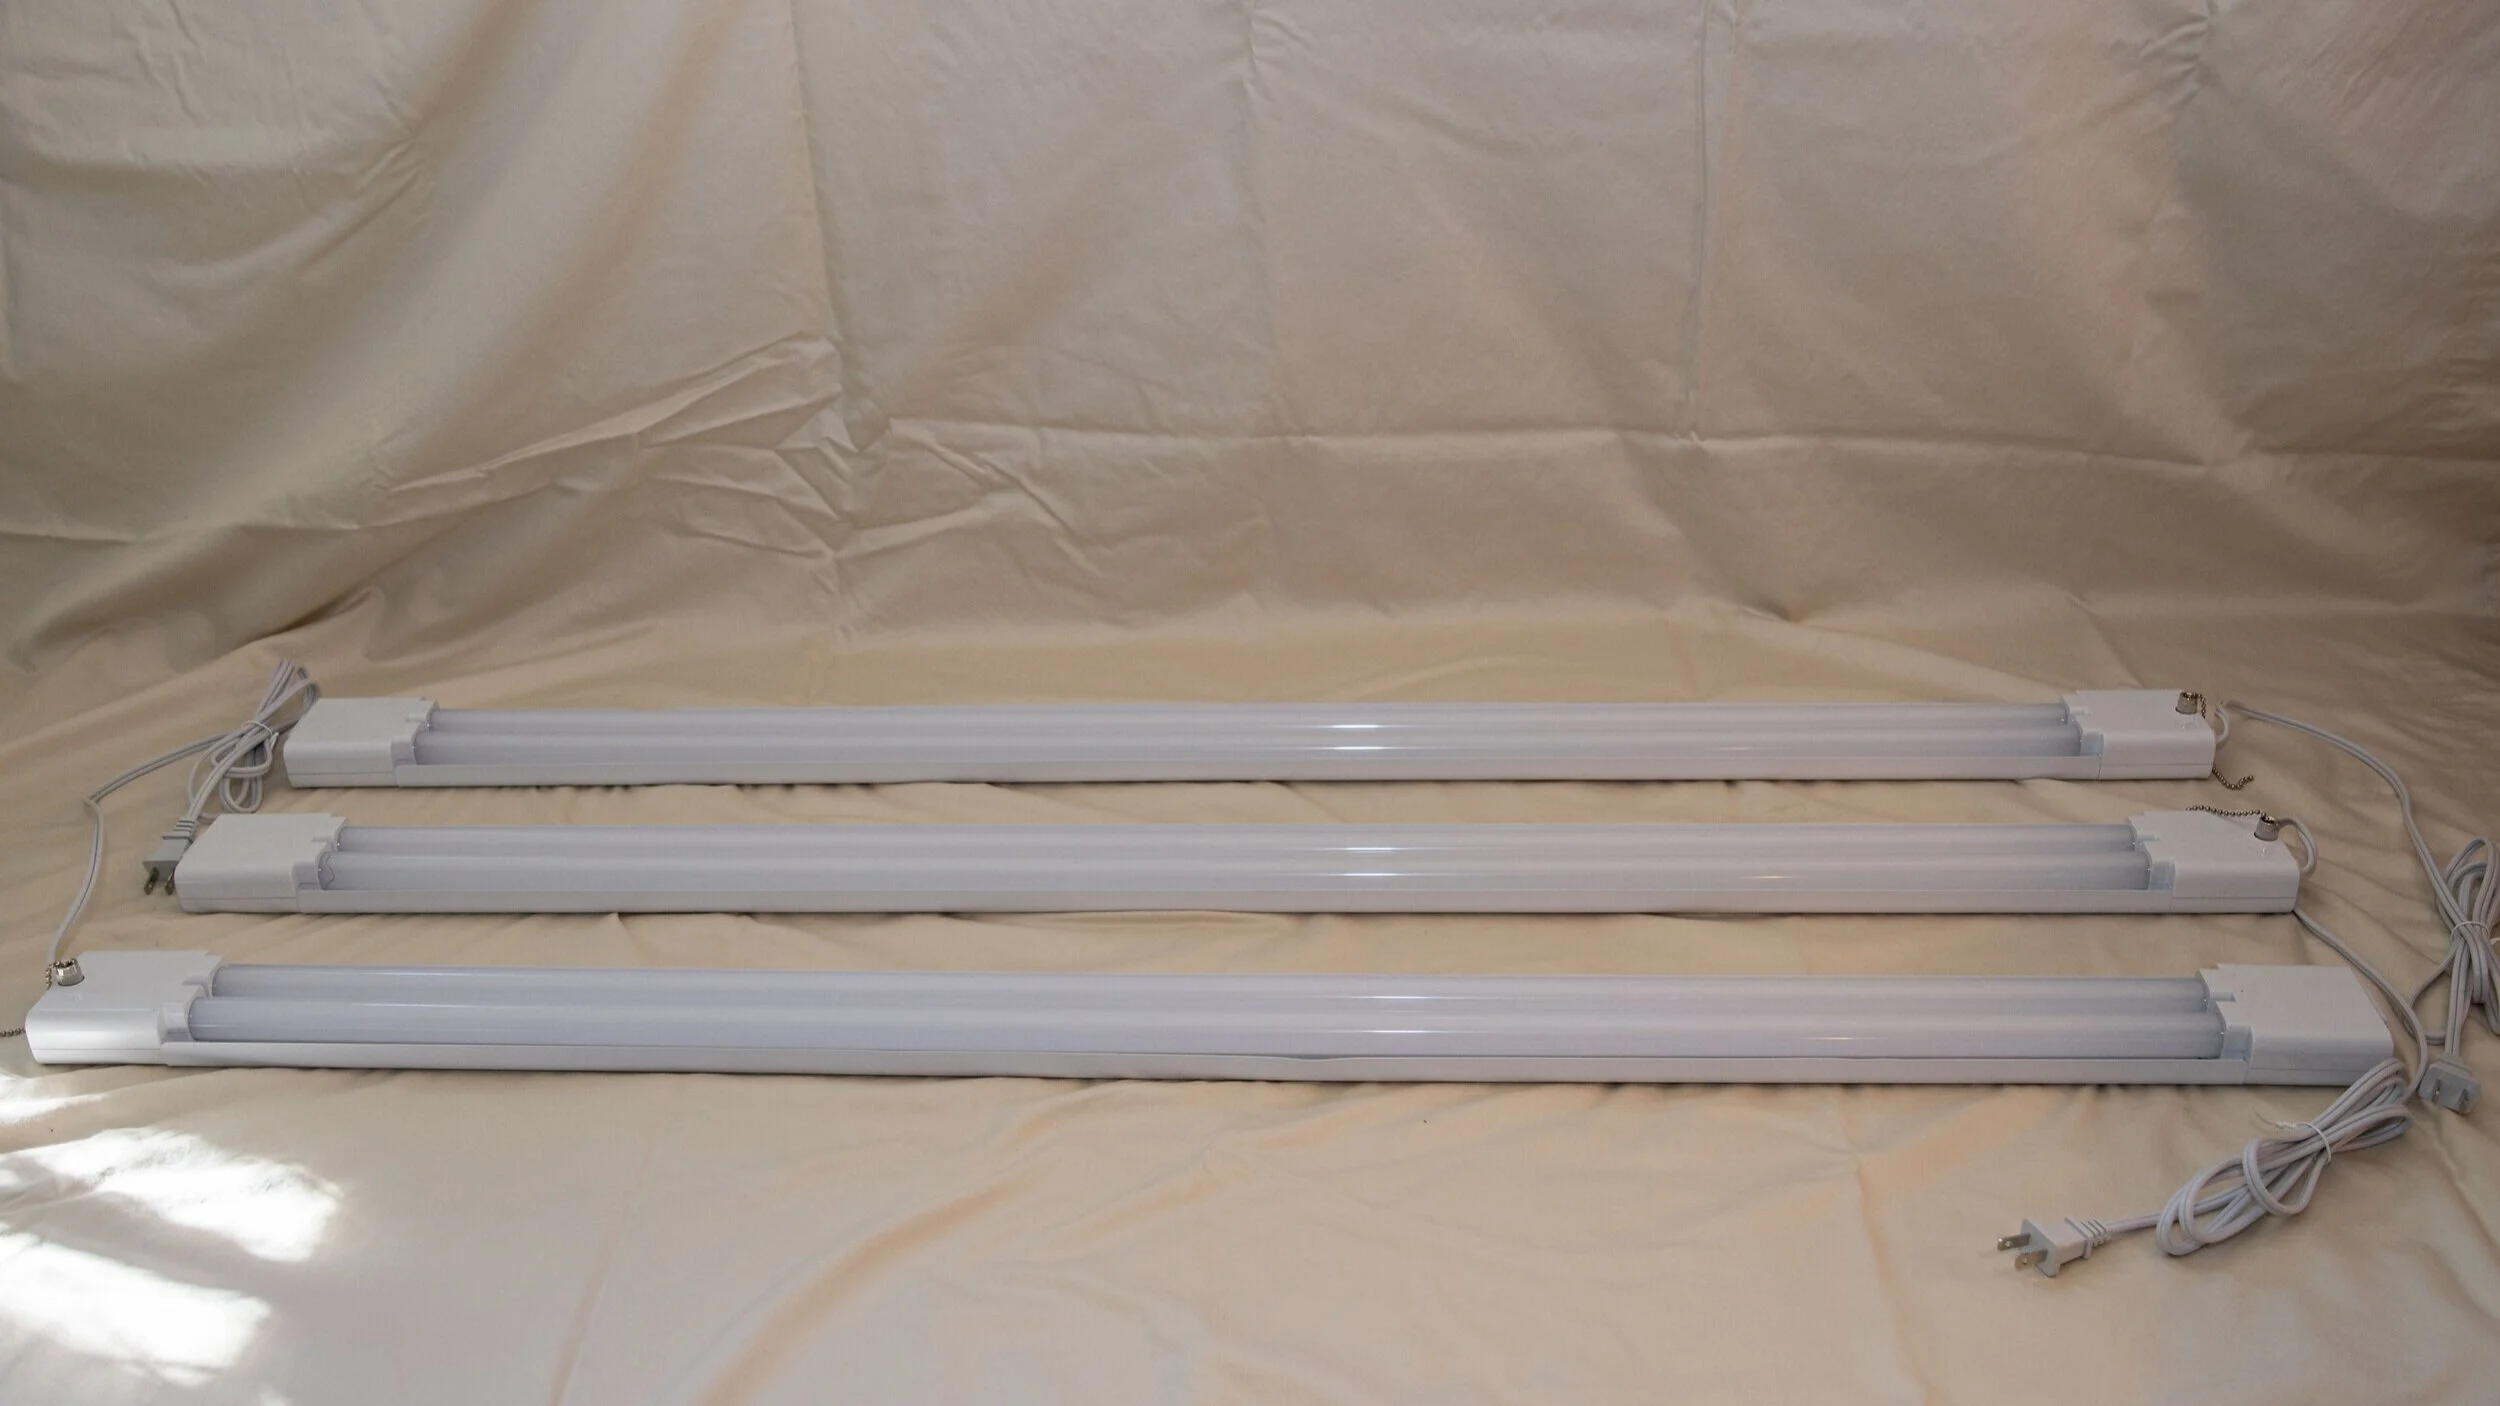
The 48” lights each come with a cord, pullchain style switch and a receptacle to allow lights to be linked together.
I cut two pieces of 1x2” lumber into 22” lengths and carefully measured the center of each, and then 9” on either side. I drilled pilot holes and then inserted #8 x1” wood screws into the holes, leaving just enough space to be able to insert the screwheads into the light fixtures.

The 48” lights each come with a cord, pullchain style switch and a receptacle to allow lights to be linked together.
To keep the light fixtures from sliding around and falling off the screws I used clear silicone sealant as an adhesive to “glue” the light fixtures to the boards. The silicone is not a super strong adhesive, so I can break the bond and change the light spacing later if I need to.

Closer look at the silicone holding the board in place on the light fixture.
Once the silicone adhesive has set up I was able to turn the light assembly over and attach 2 eyehooks to the top center portion of the boards. This will allow me to attach the lights to my hanging frame with two lightweight chains. The chains allow the light to be lowered or raised depending on the size of the growing plants.

Three light assembly with eyehooks ready for hanging.
Now for the finished product! When I mounted the three light fixtures to the boards, I made sure to reverse the middle fixture so that two of them could be plugged into each other. This allows just one light to be plugged into the plugstrip on the hanging frame, and I can use the plugstrip switch to control all three lights at once. The only final adjustment I had to make was to add 2 large washers to the top of one light fixture as balancing weights to get the overall setup to hang level.

Finished light assembly hanging in frame and all lit up!
Now I will set up my folding table and I’ll be ready to start some seeds! I usually start my first seeds indoors on Groundhog’s Day (2/2), so it won’t be long. Next time I’ll write about the details of that process, what seeds I start that early in the year, and give you an update on how the new lights are working out!
Any questions feel free to contact me at marklevisay@gmail.com.

